
SourceWhale - posting and managing candidates
Before posting your first Job, please ensure that your idibu account is connected to your SourceWhale account by following this article.
Posting adverts through idibu
- In your SourceWhale account, navigate to your Projects section.
-
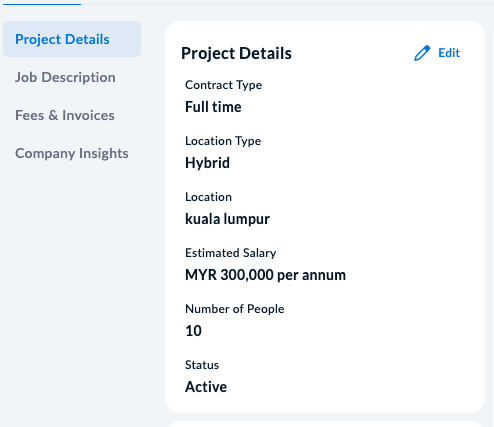
Create a new Project - make sure to set its Project type to 'Job' - or open any existing Job-type Project. Any relevant Project's data will, of course, automatically pull through to idibu's vacancy.
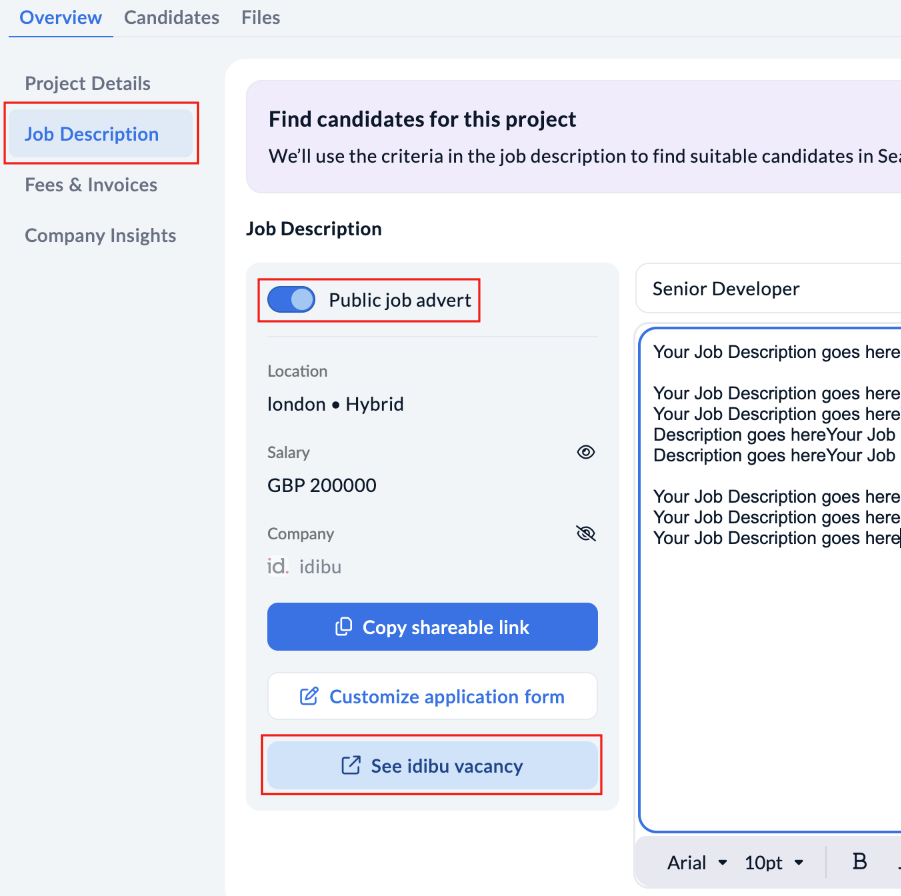
- Access the Job Description section.
-
Enable the Public Job Advert switch and then, once everything else is correctly drafted, click Create idibu vacancy (for already existing vacancies, this will be See idibu vacancy).
-
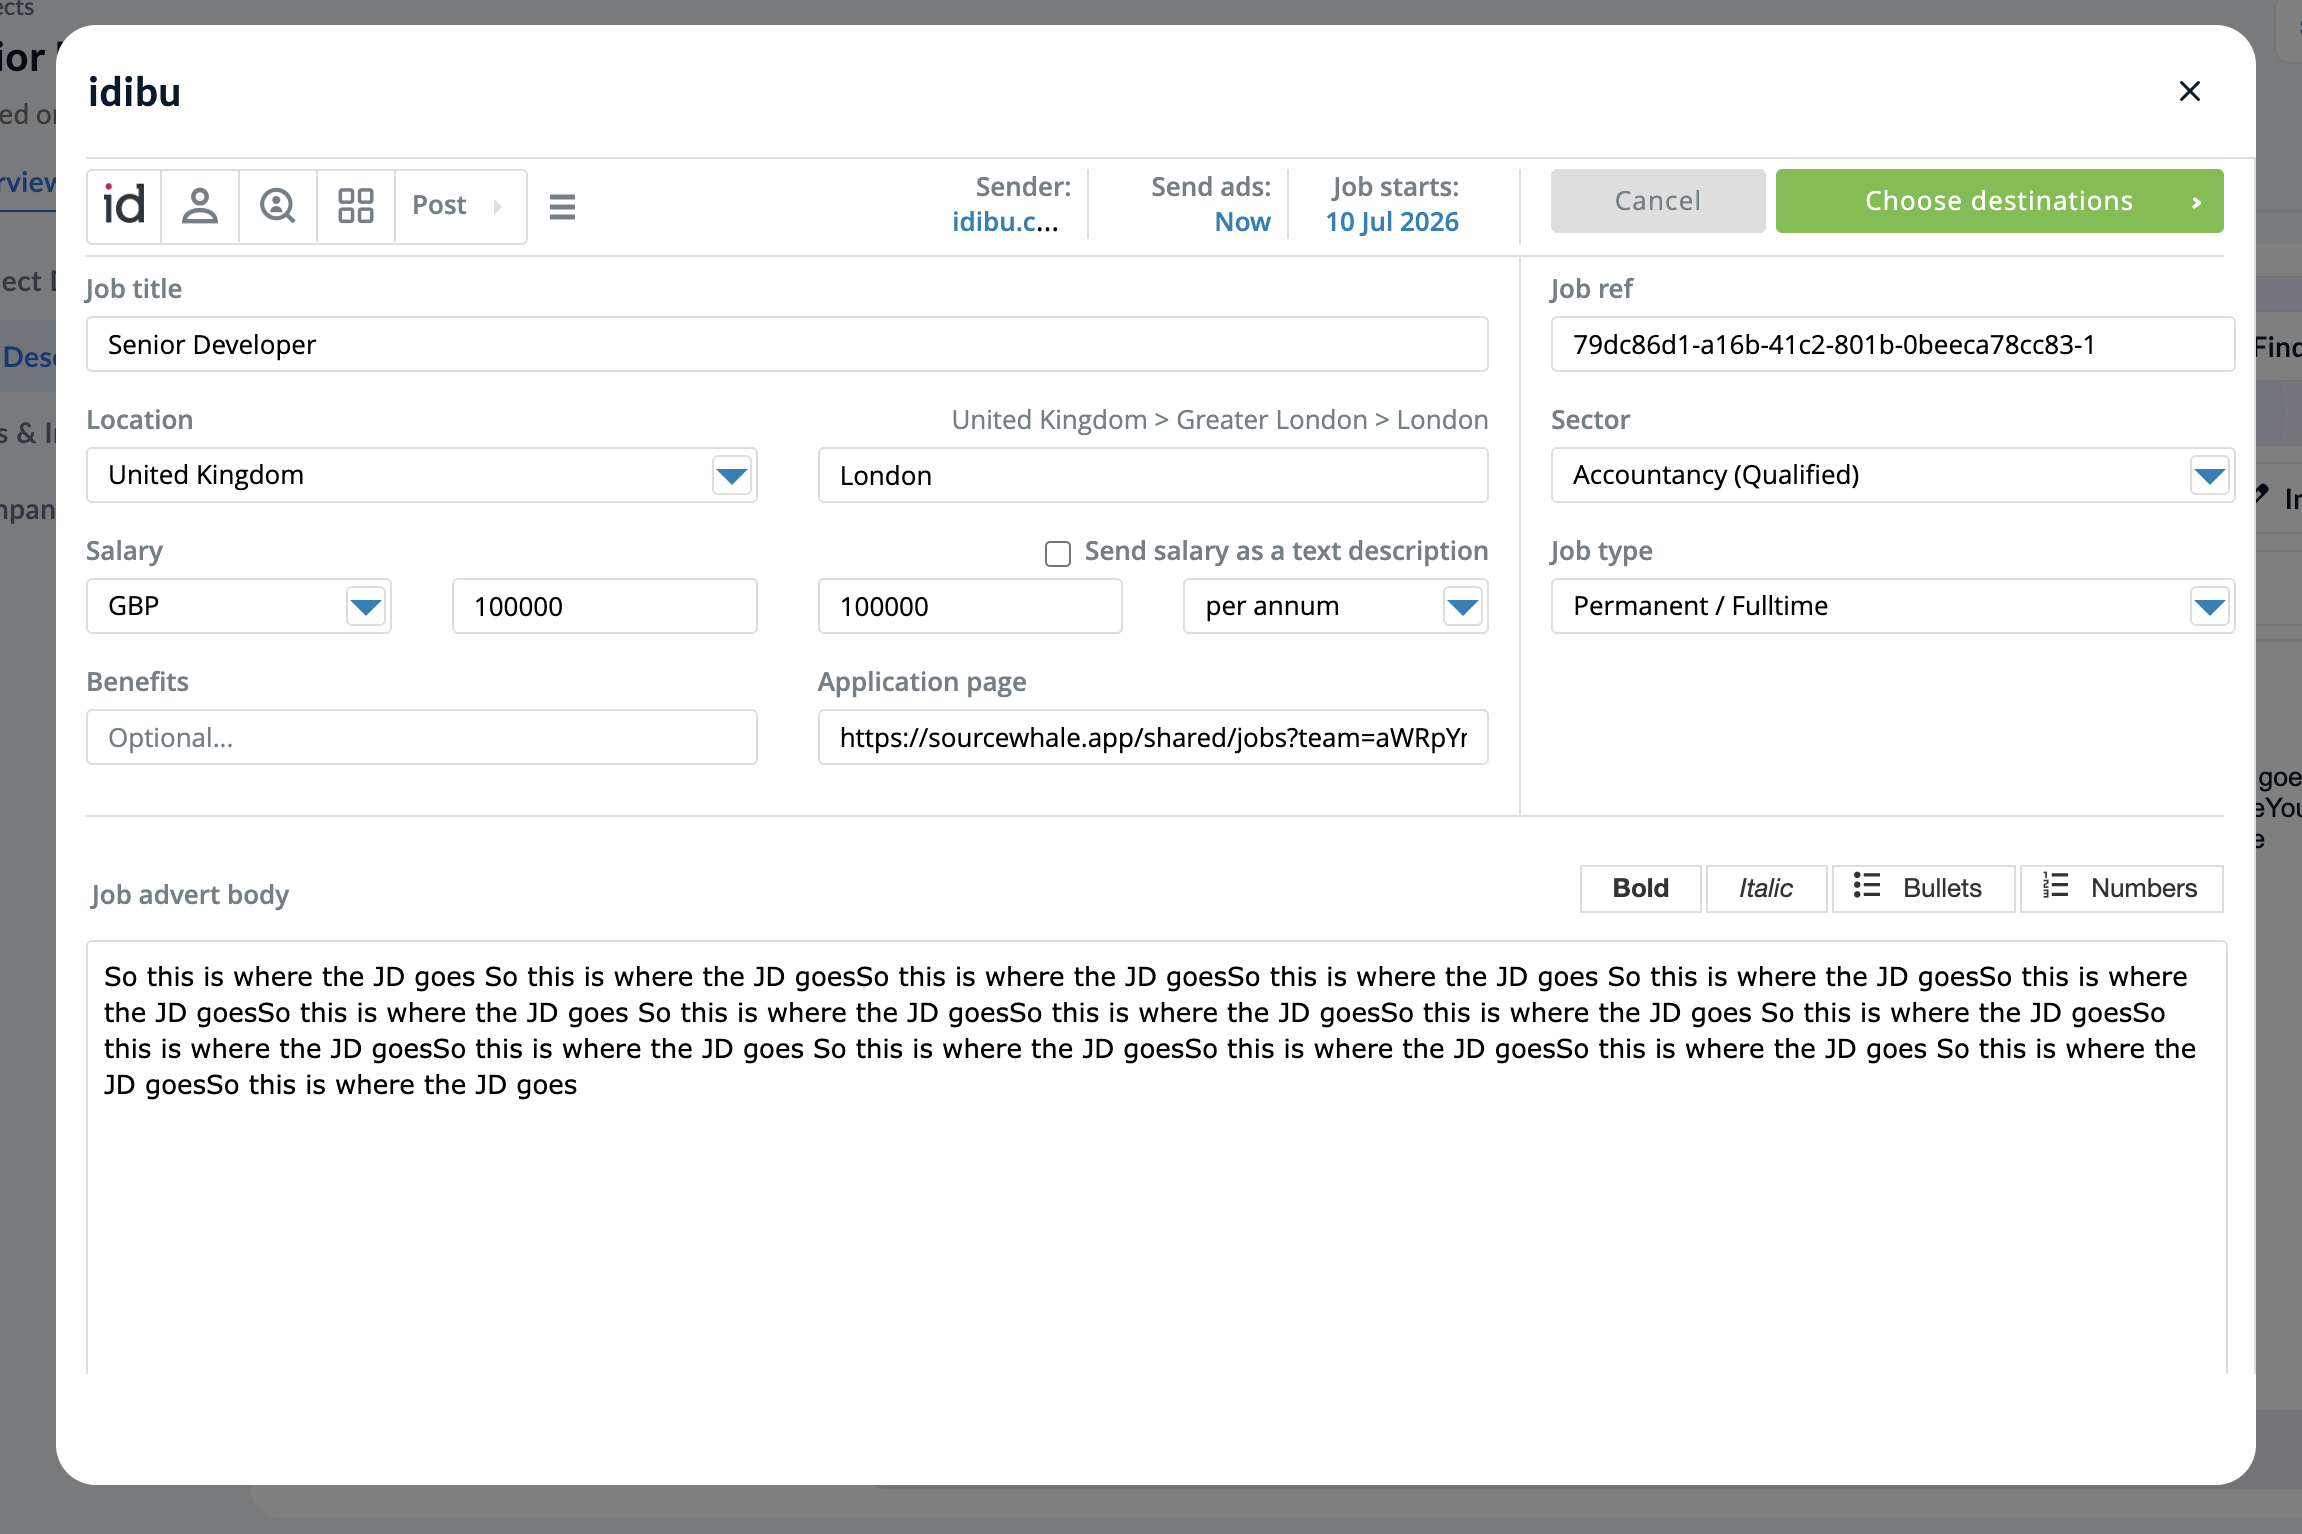
idibu's job posting interface will open - or, for any already-posted ads, the connected idibu Vacancy dashboard. From there, you can follow the standard idibu CRM usage.
Note
Please make sure not to change the Job ref in the idibu posting form - it is used to connect your Adverts and Candidates to your SourceWhale account.
Managing idibu candidates
By default, all SourceWhale postings will use dedicated Application Pages that you will see automatically inserted as part of your posting process:

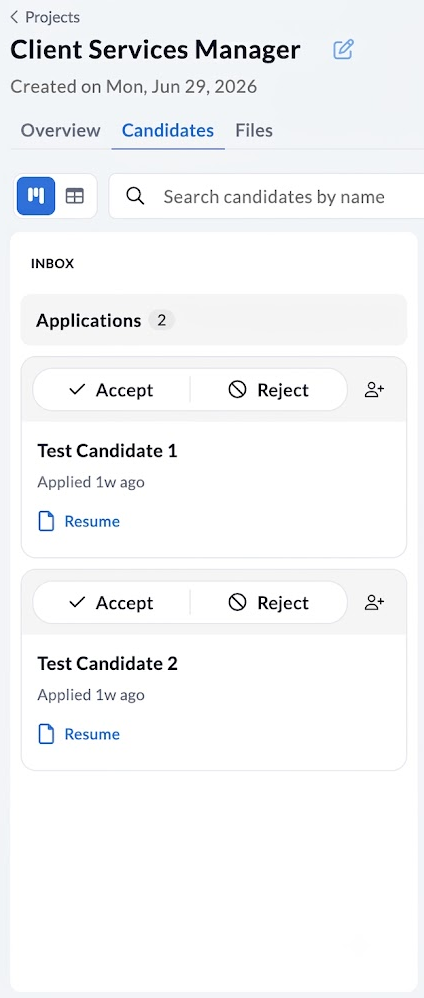
Candidates will be redirected to these pages, bypassing idibu entirely in the process. Such candidates will land under the Applications column, where you can preview their CV and either accept them (which will move them to the Sourcing column) or reject them.
Candidates added via CV search and sources that don't support external redirection will be added to your idibu account normally. Such candidates must first be reviewed in idibu using the traffic light system.
Green-flagged candidates will be added to the Sourcing column under the Candidates tab of your Project.
Yellow-flagged candidates will be added to your SourceWhale account's People section, but not assigned to any particular Project.